There are lots of advantages to tubeless tyre setups – the sealant inside should seal most small punctures without you ever noticing, and you can run lower pressures, which improves ride comfort and grip.
However, a tubeless setup requires semi-regular maintenance to keep it performing at its best. This is because tubeless sealant dries up over time. The last thing you want to happen on a ride is to experience a puncture that doesn’t seal.
In this guide, we’ll take you through how to top up your sealant and check your tyre for wear.
How often should you replace tubeless sealant?
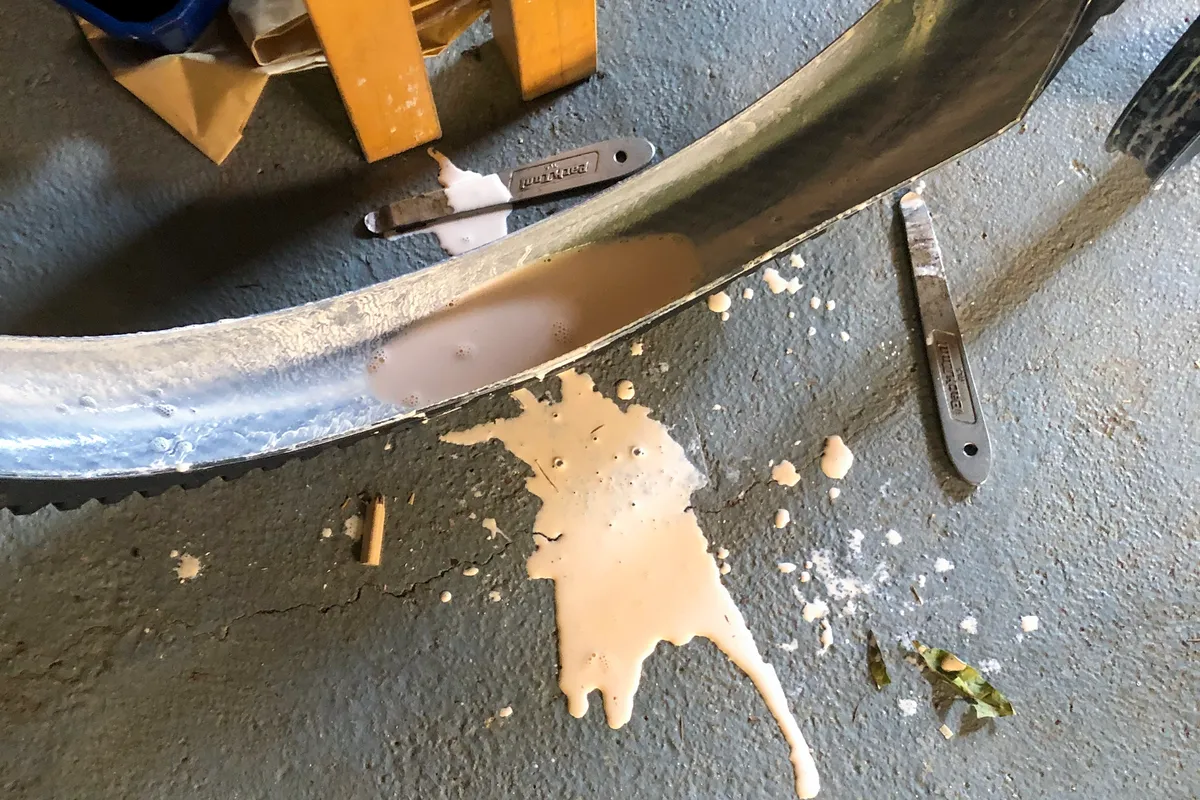
As a general rule, we’d recommend topping up your tubeless sealant every three to six months. We also recommend fully removing the tyre for inspection once every 12 to 18 months.
Please note due to the vast array of tubeless sealants available, these timelines might differ for your specific setup.
Climactic conditions, how often you ride and how you’ve stored your bike will all also impact the lifespan of your sealant.
You will need:
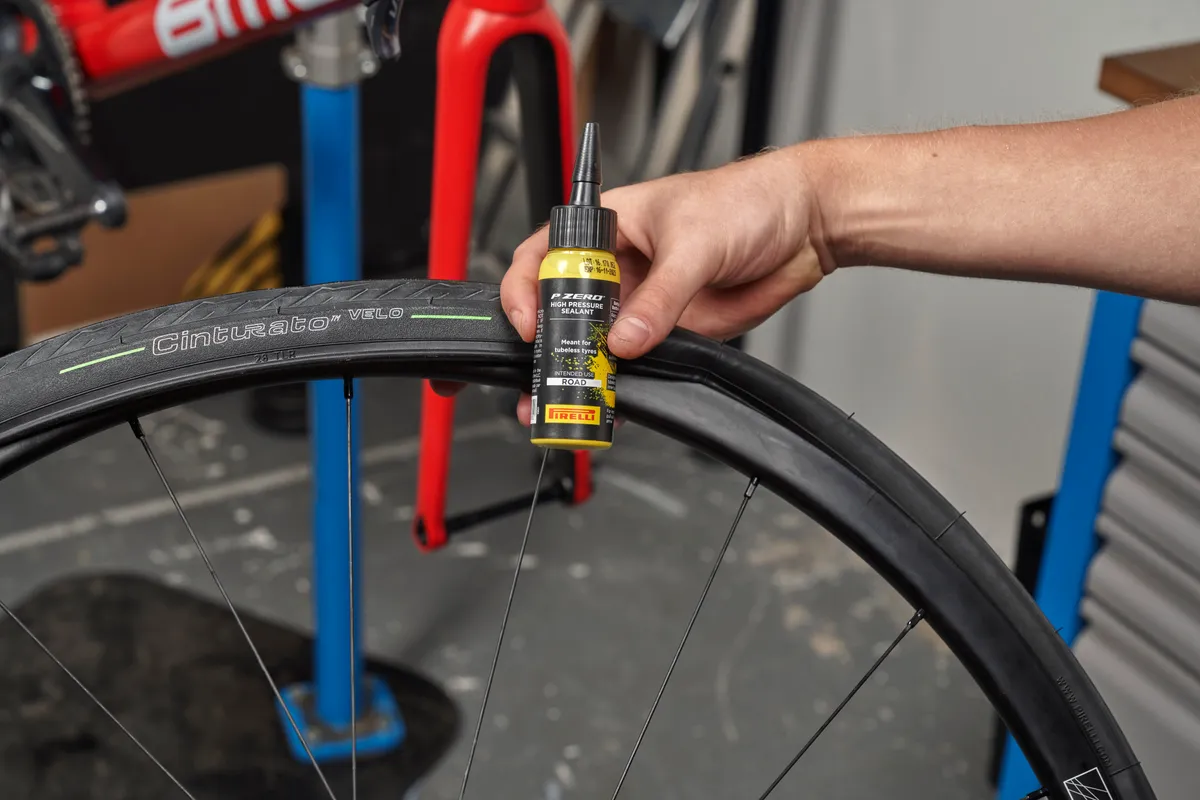
- Fresh tubeless sealant
- Tubeless injector/syringe (optional)
- Cable tie and scissors (optional)
- Tyre levers
- Tubeless inflator or track pump
- Valve core removal tool
How to refresh your tubeless setup
Step 1
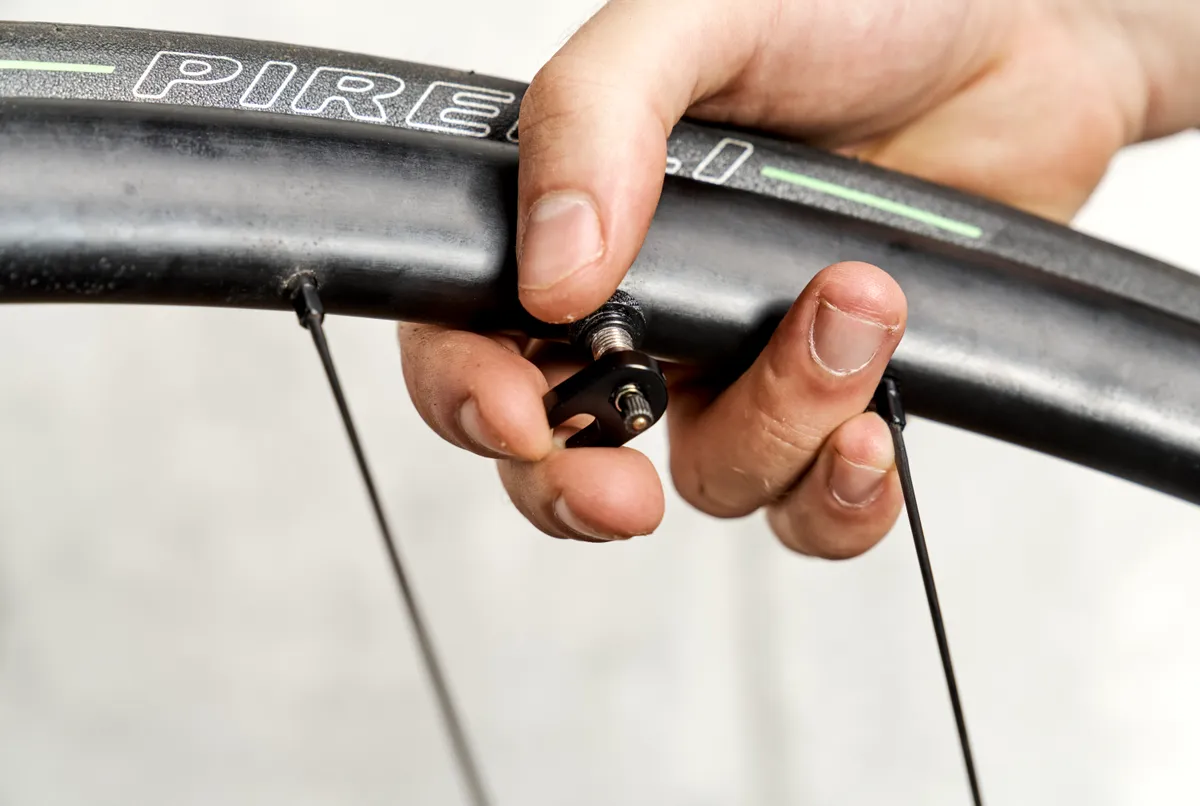
Deflate the tyre. Remove the valve core by slotting the removal tool over the core and turning anti-clockwise. You can also use pliers in a pinch.
If the core won't budge or the valve spins when you try to undo the core, grasp the stem of the valve with a pair of pliers to prevent it from turning.
Step 2
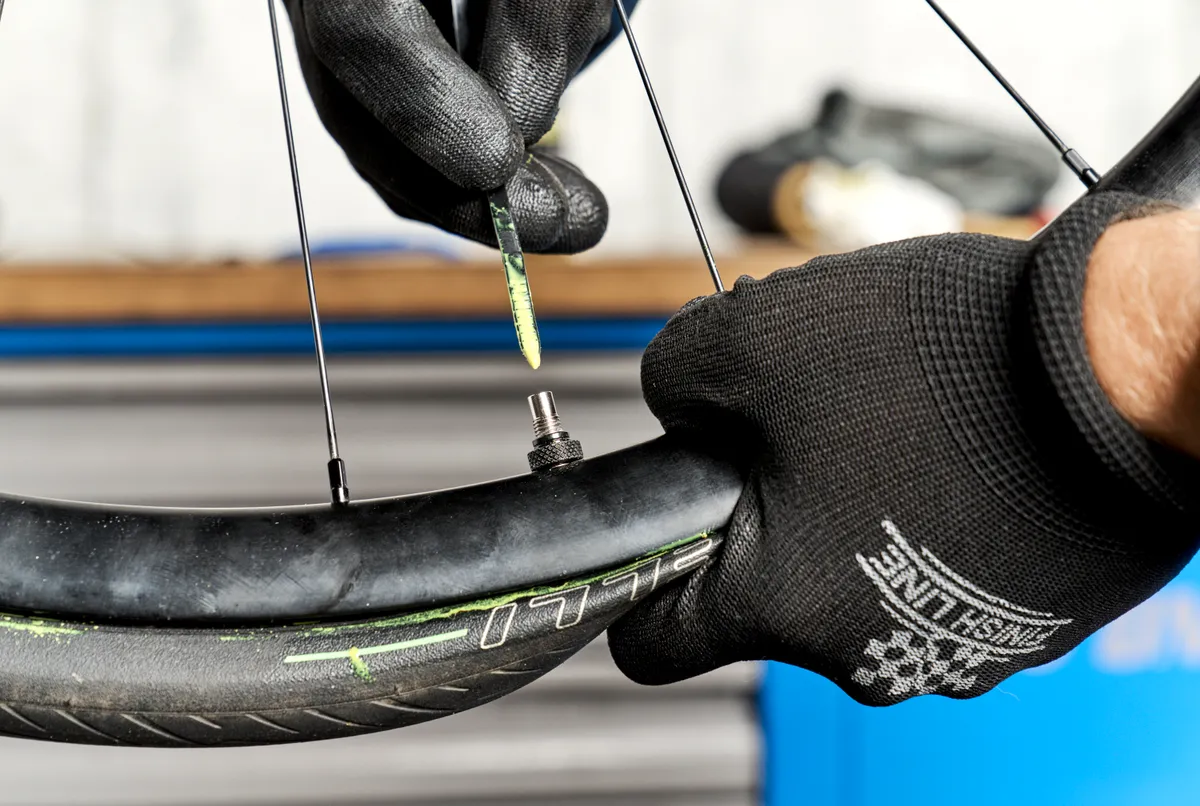
To avoid needlessly topping up sealant, we like to use a cable tie and poke it down the valve in the manner of a dipstick to check how much sealant is left in the tyre.
Position the valve at six o’clock, so all of the sealant flows to the bottom. Dip the cable tie in. As a rough guide, we'd say if there’s more than a centimetre of sealant on the cable tie, you’re good to go.
If you’re happy with the amount of sealant left, reinstall the valve core and pump up the tyre.
If you’ve decided you’re going to add sealant, you can either use an injector to install it through the valve core or remove one bead of the tyre to get a closer look at what’s inside. Removing one side of the tyre bead is an inevitably messier job.
Step 3
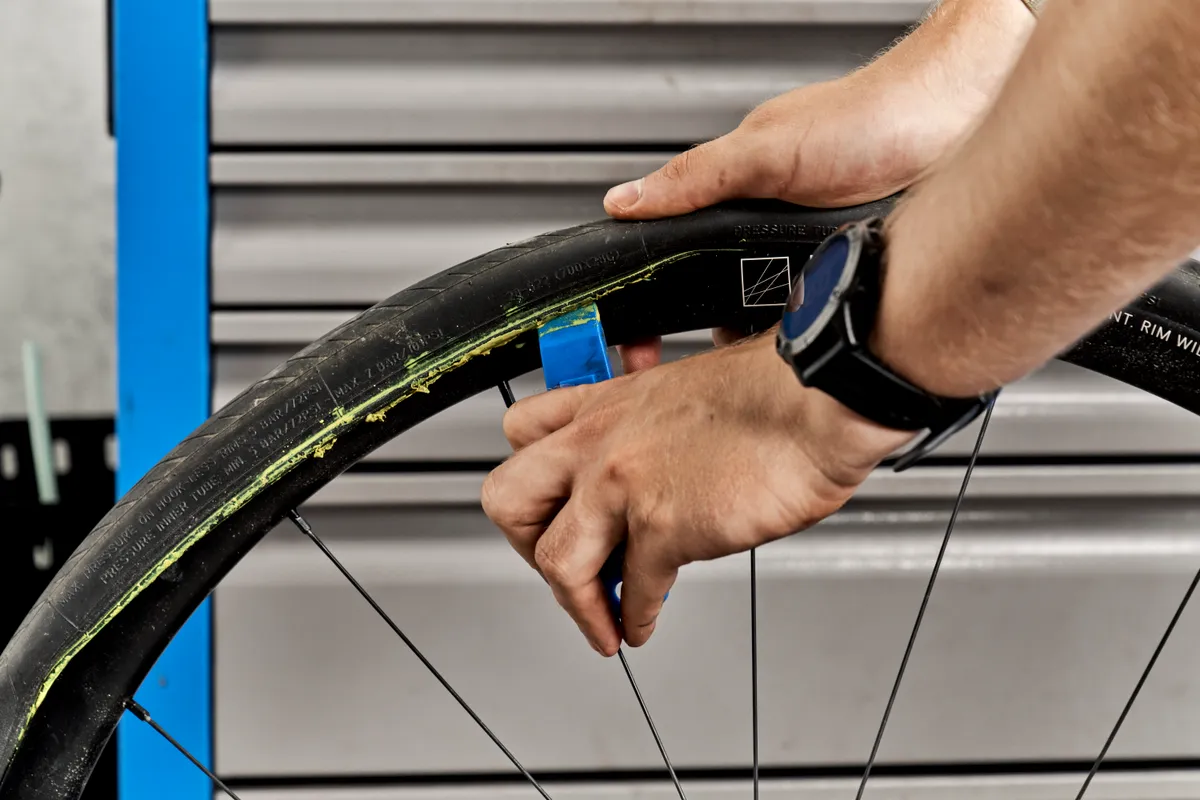
If you don't have a syringe (or want to inspect the sealant more closely), remove one bead of the tyre with a tyre lever. Be mindful of where you are working because sealant is likely to spill onto the floor.
In our example, there’s still some liquid pooling at the bottom, but if yours is completely dry or the sealant is congealed, it’s worth giving the tyre a thorough clean. The dried-up sealant only adds unnecessary weight.
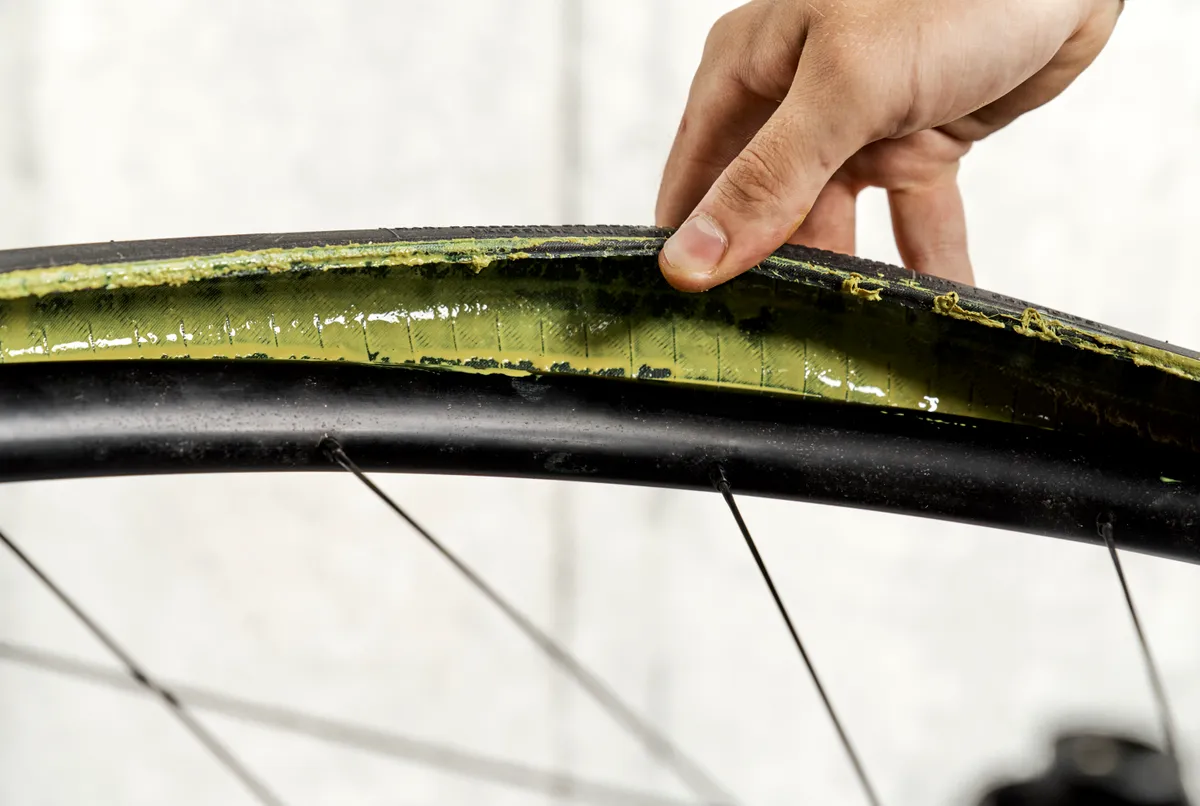
While you're at it, inspect the tyre for any bigger cuts and check the rim tape for wear, replacing if necessary. We have a dedicated guide on how to repair a punctured tubeless tyre.
You may also want to consider fully removing the tubeless valve and giving it a thorough clean because sealant can gunk up inside. We like to use isopropyl alcohol for this.
It’s also worth checking the body of the valve core moves freely because they can get clogged with sealant – if it doesn’t, it's inexpensive to replace.
Step 4
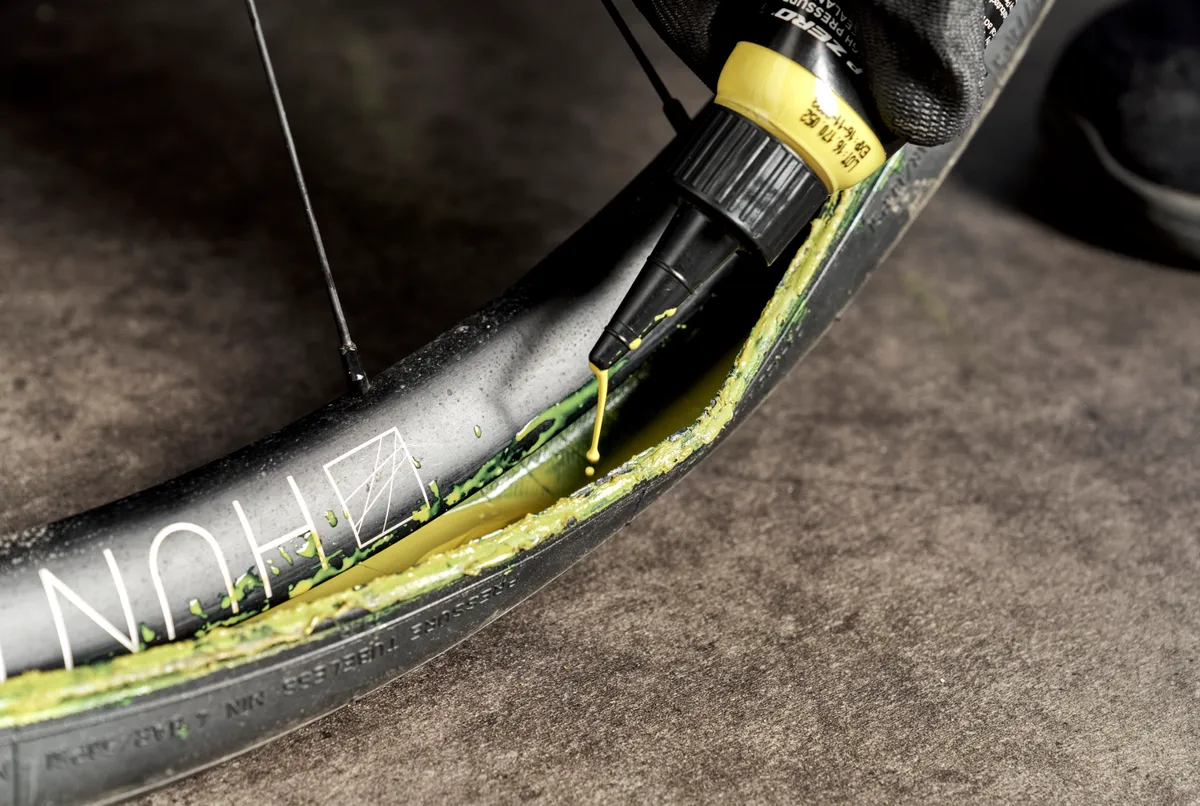
Refit the tyre and, before installing the last section of the bead, add the recommended amount of sealant. This will usually be stated on the side of the bottle and will be specific to your wheel size and tyre width.
Step 5
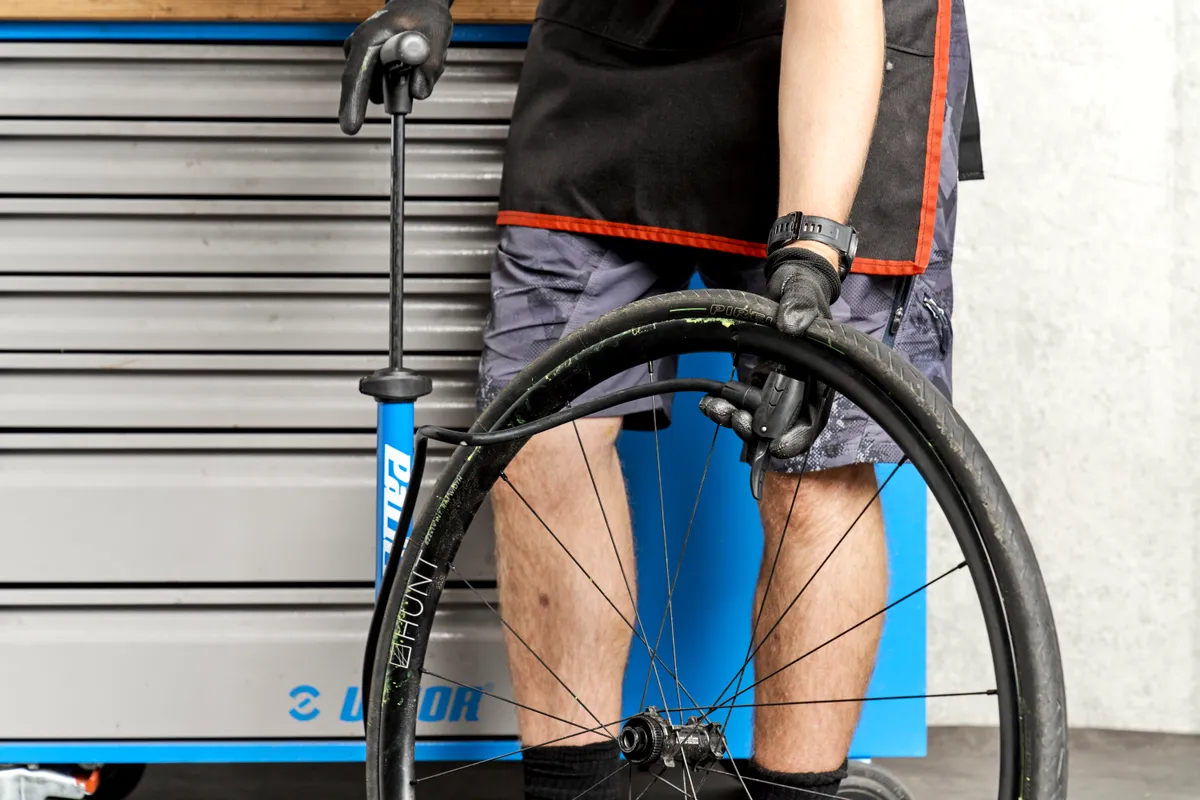
Reseat the tyre with a track pump or tubeless inflator. Some stubborn tyres require the use of the latter when setting up tubeless.
Give the tyre a thorough shake to coat the sealant everywhere. We’d recommend heading out for a brief test ride so the sealant has a chance to coat the tyre.
