


Refine your technique and confidence at descending on a road bike, and you’ll get much more from your riding and boost your average speed significantly. It’s a skill that’s often overlooked, but learning how to descend safely is fairly simple to learn and improve upon.
- How to master basic group riding skills
- How to corner with confidence on a road bike
- How to pace a sportive
Descending is one of the most thrilling things you can do on a road bike, and once you’ve learned to do it safely and effectively, you can enjoy letting your bike fly down familiar descents. Please always keep an eye out for potential hazards, which we'll also discuss here.
The technique of descending safely
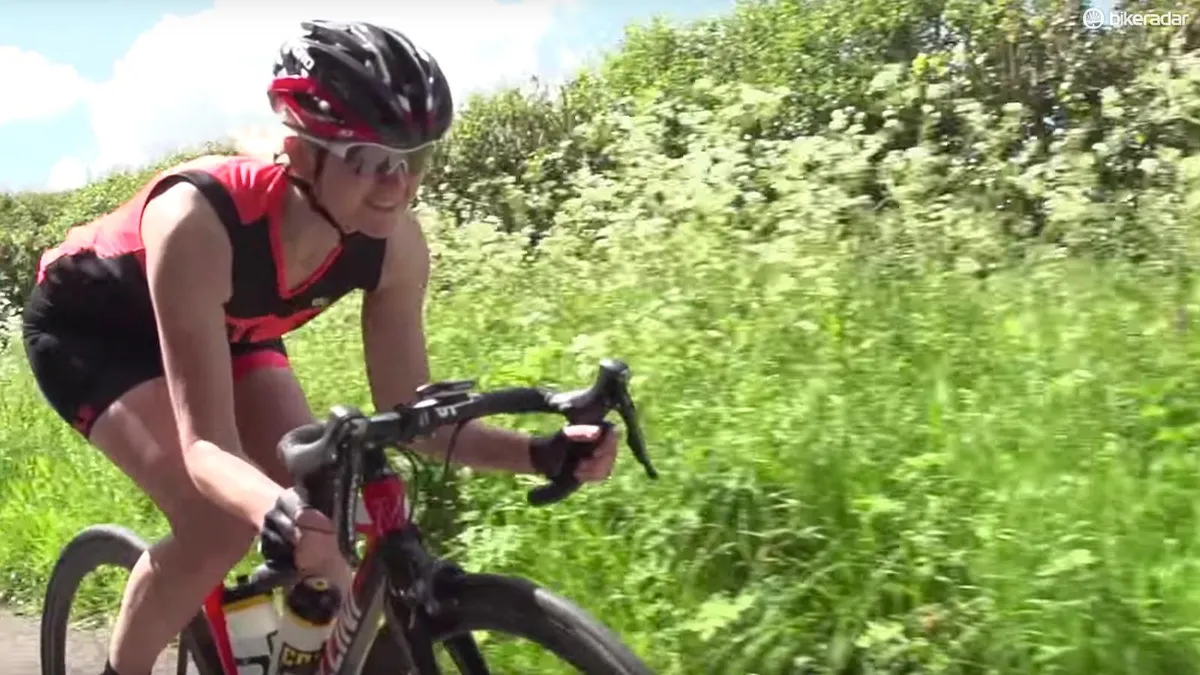
1. Get your body into the right position
Body position is one of the most important elements of proficient descending. Your body should be relaxed, you should be looking ahead, with your hands on the drops and one or two fingers covering the brakes. You can get more leverage on the brake levers if your hands are on the drops, rather than the hoods.
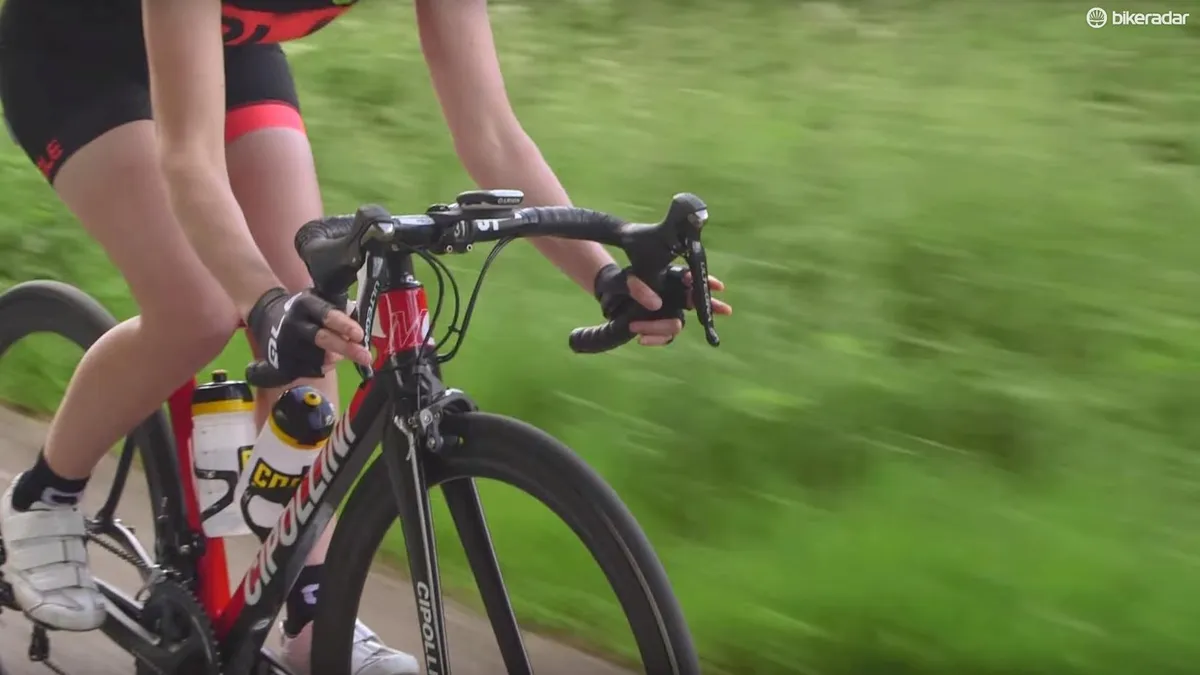
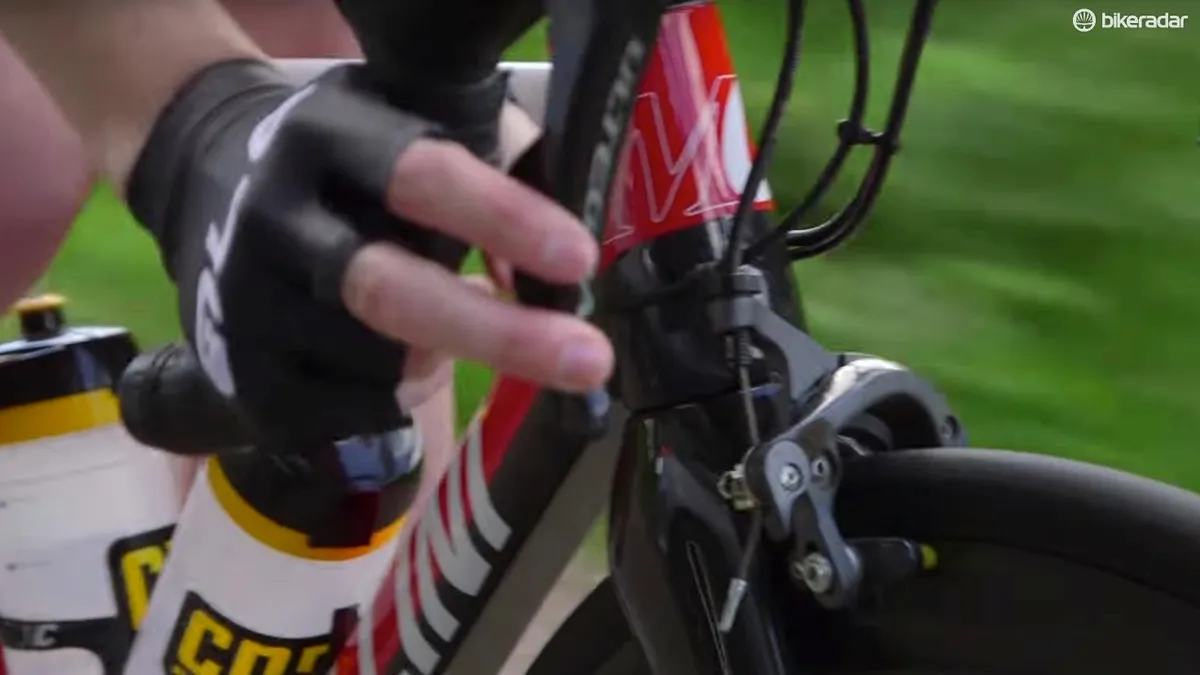
2. Don't grip the bars too firmly
Try to keep your grip firm but not overly tense – on long descents, this can cause fatigue and reduced control. Keep your arms slightly flexed with a small bend at the elbow, as this will allow you to absorb any uneven surfaces or bumps in the road, and makes steering easier.
3. Keep your cranks horizontal
When descending in a straight light, keep your pedals in a neutral position parallel to the road, in the three and nine o’clock positions. Looking ahead is crucial, as the faster you go the further down the road you need to be looking to anticipate changes in the road surface, direction, or other vehicles.
4. Don't drag the brakes
It can be tempting to keep your brakes on slightly – brake dragging – but this is best avoided as it can cause them to overheat and become less effective, a phenomena known as brake fade. In extreme cases, it could lead to a tyre blowout.
5. Remember that your upper body = air brake
Instead, opt for short periods of even, controlled braking with equal force applied to both the front and back brake. Your body position comes into play here too; sit in a more upright position and you create an airbrake with your torso. The drag created here will keep you at a consistently lower speed.
On the other hand, if you want to up your speed, tuck your body low over the drops into a more aerodynamic position and you’ll feel the acceleration.
Common cycling hazards when descending
Because you will be travelling at a significantly higher speed when descending, it’s important to spot hazards early, which means looking well ahead down the road to anticipate any potential obstacles, changes in terrain or oncoming traffic.
Potential hazards include:
- Painted white lines
- Wet drain covers
- Speed bumps
- Gravel and fallen leaves
Try to avoid these if possible.
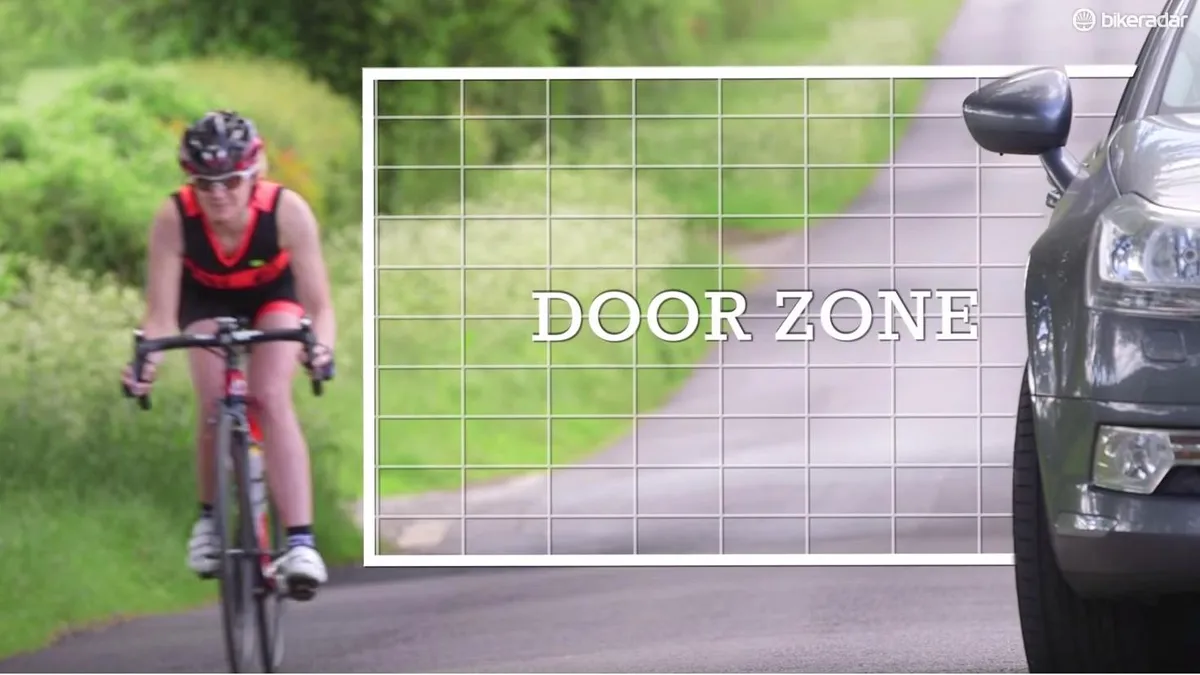
People and vehicles also form big potential hazards. Look out for vehicles pulling out of junctions, pedestrians stepping out into the road, and avoid the door zone when passing parked cars. Don’t forget, you’ll be travelling quickly but quietly, which can easily catch some pedestrians out. Especially if they're looking at their smartphone.
When riding with other people, leave at least three or four bike lengths between each rider, and call out any potential hazards if you are the ride leader, either verbally or by pointing at them.
How to descend on wet roads
How to descend on a road bike safely
If you are descending in the wet, all of these hazards are amplified, and you will have less traction on the road. This means you will need to control your speed carefully and consistently, and travel at a much slower pace.
Brake progressively and early, gradually decreasing your speed in a controlled way as you approach the hazard. Leave more space between riders when in a group, and be particularly vigilant for road hazards.
How to do an emergency stop on a road bike
If you do find you need to stop quickly, and you don’t have time to slow your speed beforehand, here’s how to do an emergency stop.
1. Slide your weight back on the saddle and pull both brakes hard and progressively. Your front brake is the more powerful brake, but don’t use it on it’s own, as it can cause the bike to flip and may send you over the bars. Use both brakes together.
2. Try to avoid the brakes locking up, as this will cause your wheels to skid. Skidding wheels behave unpredictably, and don’t have the same braking grip as a turning wheel.
Some final thoughts on descending safely
Don’t forget that on long descents you’ll be moving fast without much physical effort, so be aware that your body temperature may drop and you may need to put on extra layers.
Finally, practice is everything, and the more familiar you are with descending the more your confidence will improve. Seeing success in your mind is the first step towards actual success. Keep your visualisation and thinking positive; excessive fear will lead to a tense style and bad technique.