
Despite road bikes being a relatively simple mechanical device, many cyclists focus on just one or two areas when it comes to maintenance. They might be fastidious about keeping their bike clean and well lubed, or making sure their gears and brakes work properly, but many other maintenance tasks are often abandoned until something breaks or fails.
This article looks at the mostly commonly ignored areas of road bike maintenance and offers some tips on how to carry out this maintenance and stop it from becoming a repair.
- Here's why you shouldn't buy the cheapest tools
- Common bicycle repair mistakes to avoid
- Best cheap road bike upgrades
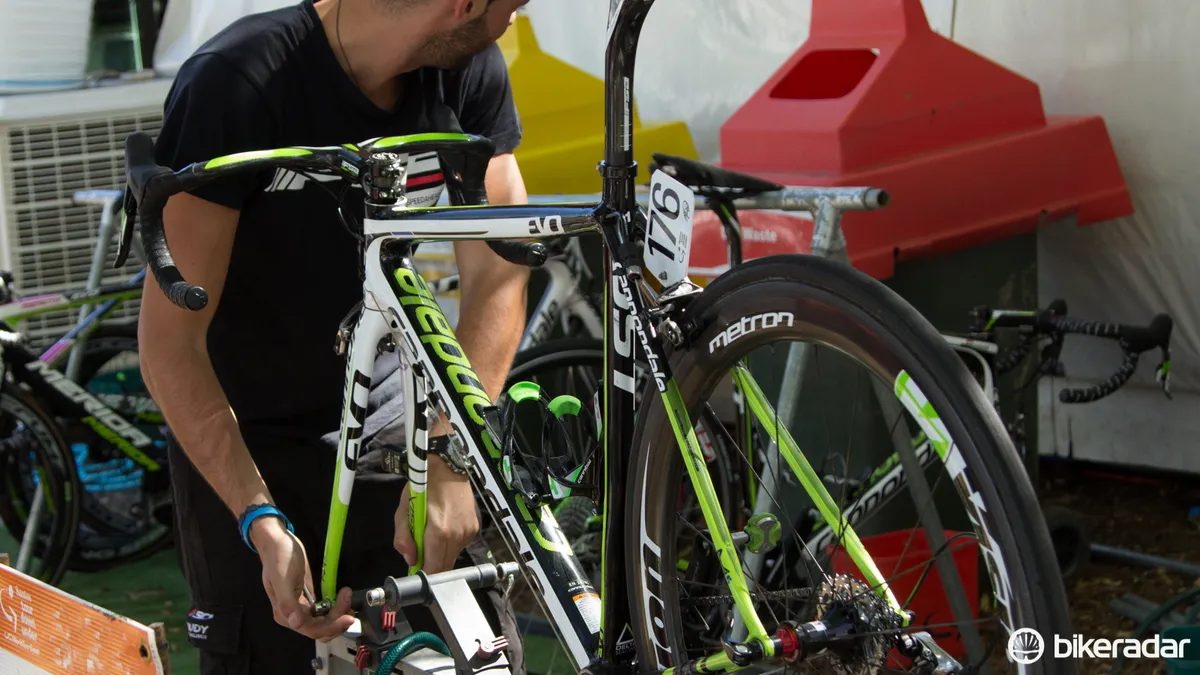
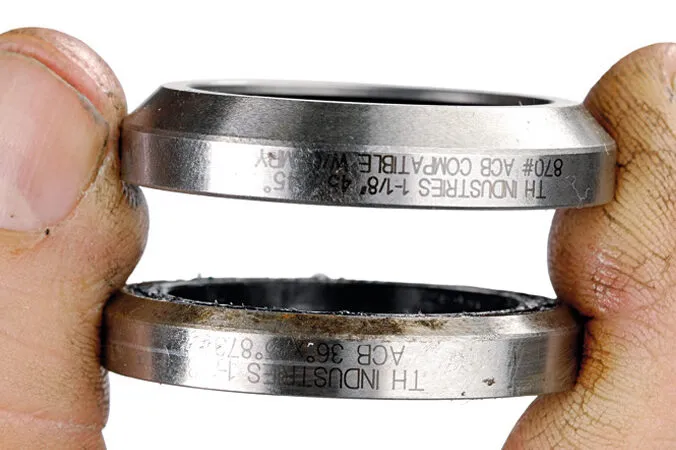
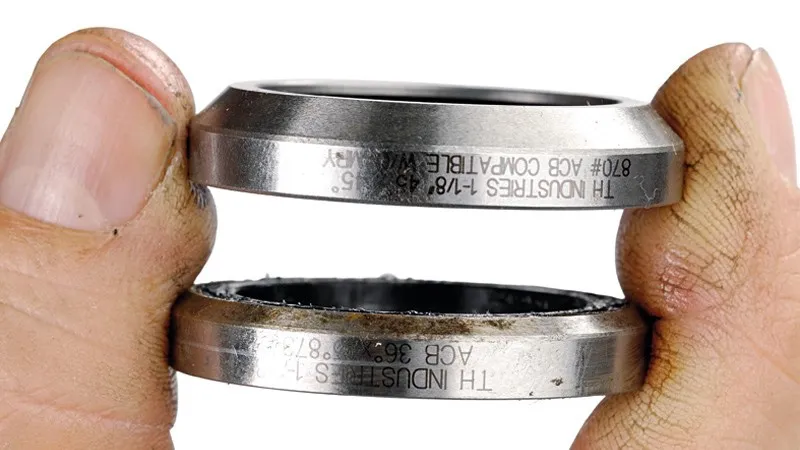
Headset
Even seemingly well-maintained bikes often hide spoiled headset bearings. They sit inside your head tube and are likely to suffer the torture test of your sweat dripping with every hot day of riding, and are likely to corrode.
To prevent this, remove your stem and drop the fork out of the frame. This is easiest with the bike on the ground. Newer frames will have sealed bearings, which just need a thin coat of grease on the surfaces. Put it all back together and torque to spec.
If you've let it go too far and the bearings feel rough, you must now try to source the right replacement headset bearing (that's a whole different article).
This is also a perfect time to inspect your fork steerer for any signs of stress or damage. Be sure to check close to where the bearing races contact and where the stem clamps.
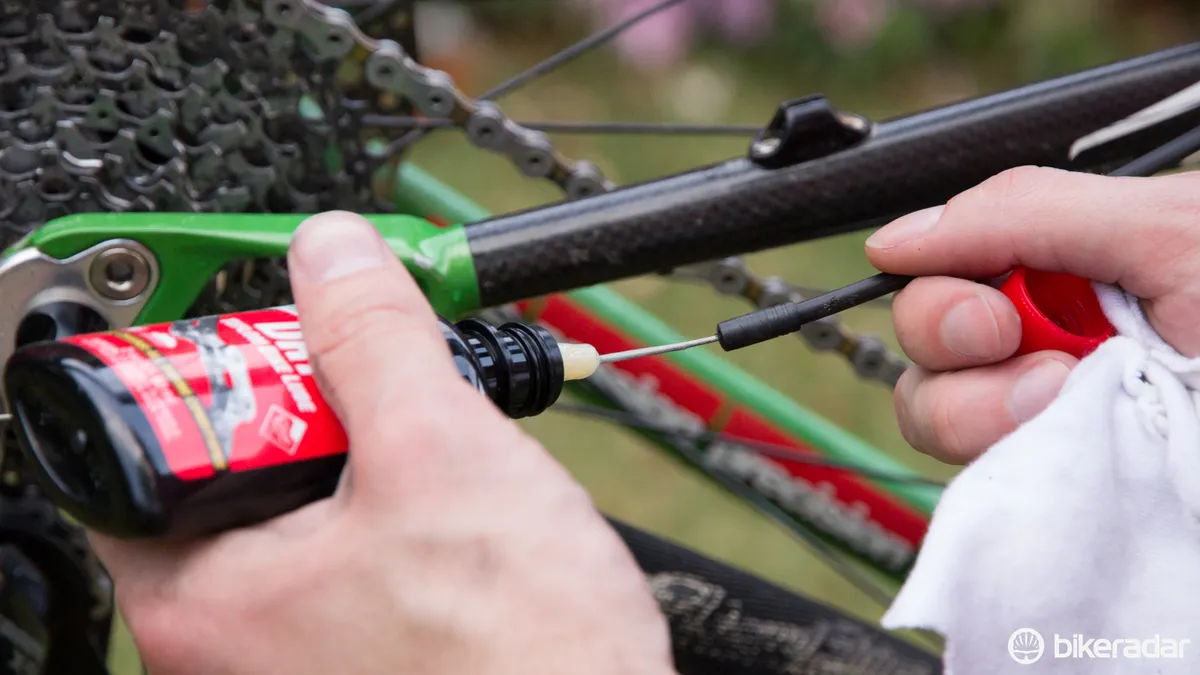
Gear cables
Gear cables can get kinked and fray, leaving you on the road without shifting. This is especially true for older 9- and 10-speed Shimano groups where the gear cable is external. These cables are constantly bent in the shifter and are known to become weak over time.

Assuming you have external cable routing (likely given the age of these shifters), shift the relevant derailleur into the largest sprocket. Now, with the chain holding the derailleur in this position, stop moving the cranks and click the shifter all the way down the opposite way — this will release all tension from the cable and allow you to pull it free from its guides. Poke the cable out of the shifter and check for any sign of fraying or kinks — replace if dubious.
If there is no kink to be found and you've done the steps for lubing a cable, go ahead and drip some dry chain lube on that inner cable and work it through the housing segments.
Pedals
So many cyclists will repair/service everything and ignore their pedals — even moving old, clapped-out pedals across to a brand new bike.
Watch for loosening bearings and of course worn cleats. Many pedals can be tightened or serviced to keep them spinning smoothly, but a worn cleat surface on the pedal body cannot be fixed, and the off-axis movement this causes can lead to knee pain and other issues. For example, older Look Keo pedals without a metal contact surface would wear in this manner.
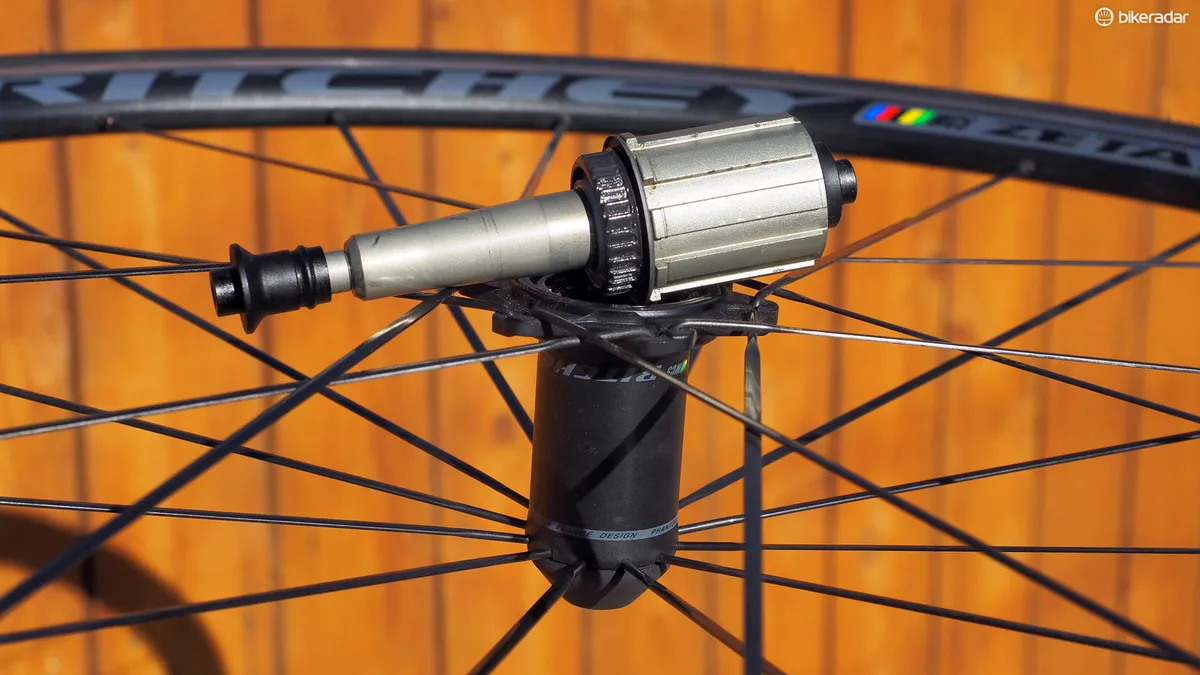
Freehubs
Despite the common belief that a good freewheeling noise is a sign of quality, most freehubs shouldn’t sound like a Harley. If your hub has gotten noisier over time, it's likely that it's dry or dirty and needs some attention.

With the right instructions and tools (usually Allen keys and/or cone spanners, and sometimes a bench vice) this isn't a hard or long job. Just be sure to read up on the process for your hub before beginning, and be careful not to drop small parts.
Many quality brands will specify their own lubes. To ensure you don't get chain droop or drops, it's usually best to stick with the recommended lube. If in doubt, go with a thin grease or thick oil, standard grease will often cause drag and sticking.
Chain
Keeping your chain clean and well lubed is certainly crucial, but don't forget to measure for wear every so often.
To give an extreme example, many pro teams replace their chains every 1,000km, so that over three seasons they very rarely wear out cassettes or chainrings. Of course it doesn’t make sense for everyday riders to change their chains this often, but it does give you an idea that if you replace your chain often enough, you’ll get plenty of life out of the rest of your drivetrain.
There are plenty of chain checkers on the market and they all work in roughly the same way, providing a rough guide on when to replace a chain. Personally, I use either a Park CC-3.2 or a Feedback Sports Digital Chain Gauge (it's highly accurate but quite expensive).
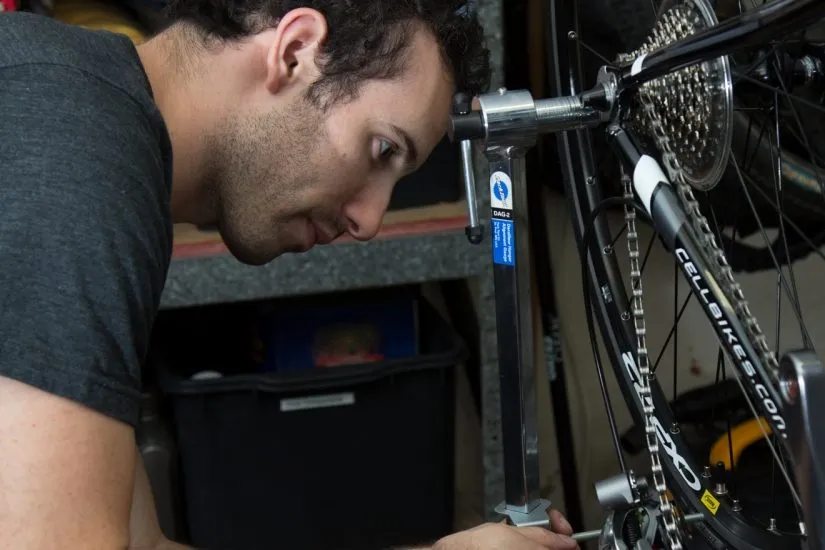
Derailleur hanger
It’s easy to bend the soft alloy derailleur hangers on modern road bikes and so, if your shifting is not perfect, check whether your derailleur hanger is straight.
If your bike ever falls derailleur-side down (whether you’re on it or not at the time), you should always check that the derailleur hasn't been hit or knocked out of line. Otherwise you could be pulling the chain out of your spokes before you know it.
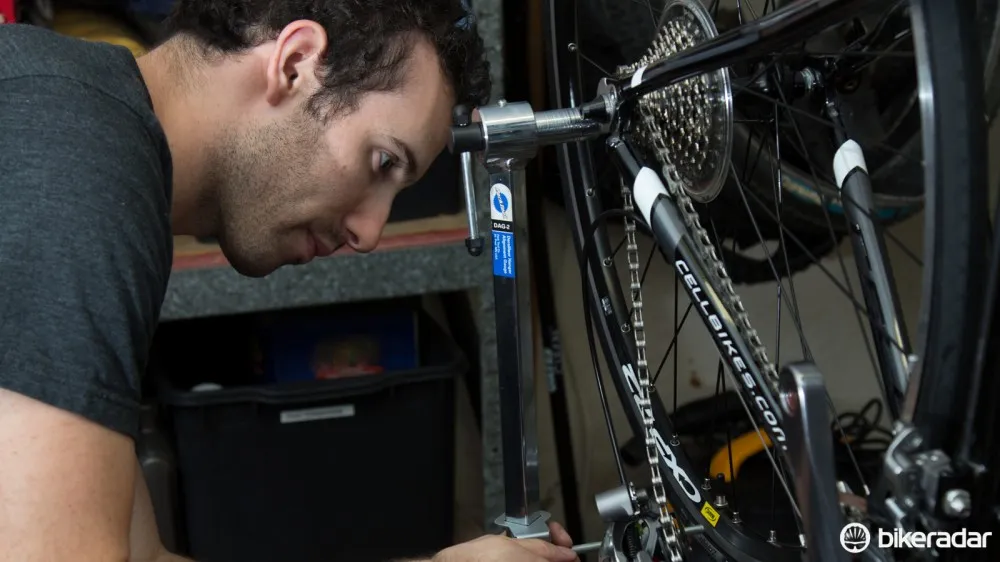
If you're keen to do it yourself, the Park Tool DAG-2 is one of the most affordable and trusted hanger tools on the market. Brands such as X-Tool and LifeLine make cheaper versions too.
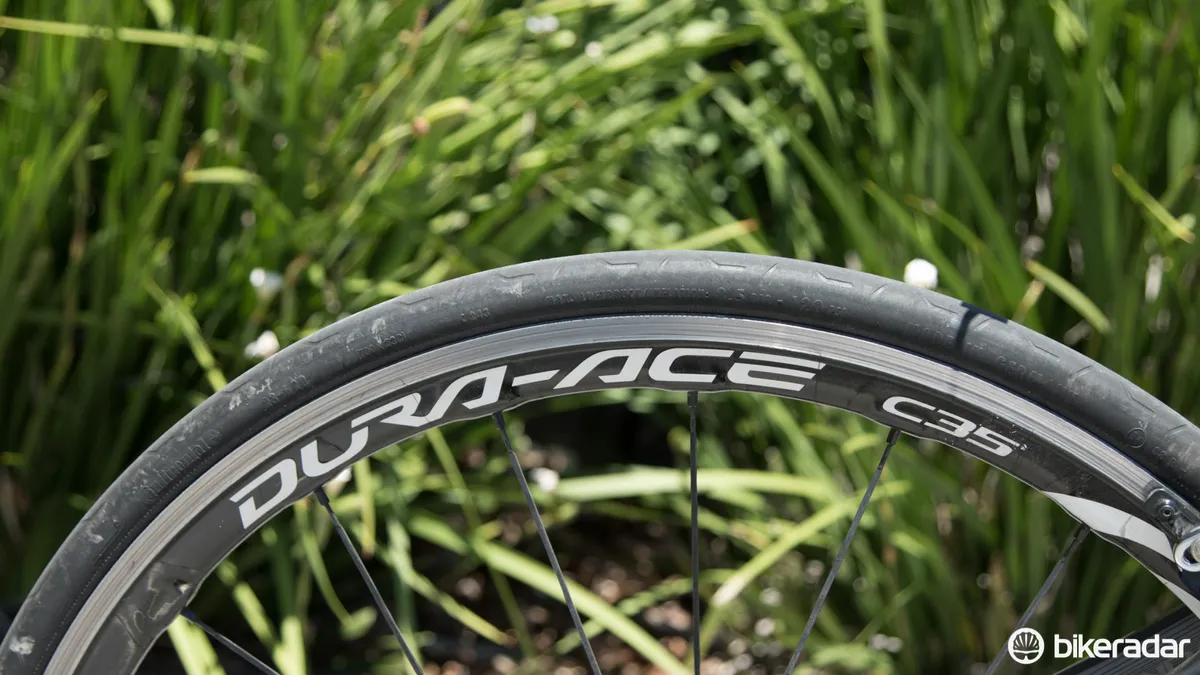
Tyres
Checking your tyres between rides may pre-empt the dreaded roadside puncture.
Look for cuts or tears in the tread and sidewalls. If your tyre is getting flat in the centre, then it's possible it’s worn. Any protruding glass or wire must be removed, and if the tyre is punctured through the casing, consider replacing it.
Personally, I have a maximum three flats per tyre rule; after that the tyre gets chucked.
Brake pads
Brake pads have wear indicators, so it's easy to see if they have life left in them, but are they wearing evenly and still contacting the rim square?
If not, you can use a coarse file to get a little more life out of unevenly worn pads. Once you've squared them off, readjust the pads so that they contact the rim correctly.
On a similar note, your levers should have a light feel and not need excessive force to pull the brake. If they do, consider replacing your brake cables and giving the calliper a service.
Loose and rattling parts
Rattles and creaks can be avoided and while some can be a pain to find, most of the time it’s the simplest of things that is causing them.
To start, check for loose bottle cage bolts and jingling items in your saddle bag (or equivalent). It’s astonishing how often bikes have a slightly loose bottle cage.
Other common causes of rattling are loose cassettes, hubs or headsets. Rattling shifters is another, but can be harder to fix depending on the model, make or issue.
Chainring bolts can work themselves loose and easily disguise themselves as a creaking bottom bracket or pedal.
Tools for chainring bolts vary. Some brands need a 6mm and/or 5mm hex wrench, others now use Torx-30 and need a chainring bolt tool on the back — the Park Tool CNW-2 is a cheap and effective option.
Bar tape
Too many cyclists ride with ripped, torn or old and compressed bar tape. It's cheap to replace and like new tyres, brings new life to any bike.
Another important reason to replace your bar tape occasionally is it gives you a chance to safety check your handlebar for cracks or corrosion.
Before you replace the tape, consider doing new cables too — they are tucked beneath it and replacing the bar tape is just as time-consuming as replacing cables.