


Putting a tougher set of wheels on your bike for riding in winter will save your summer wheelset from the salt, grit and grime of the off-season months, helping to make your more expensive, high-performance hoops last longer.
If you're a beginner, and you're thinking of changing your wheels for the first time, here's how to do just that in five easy steps.
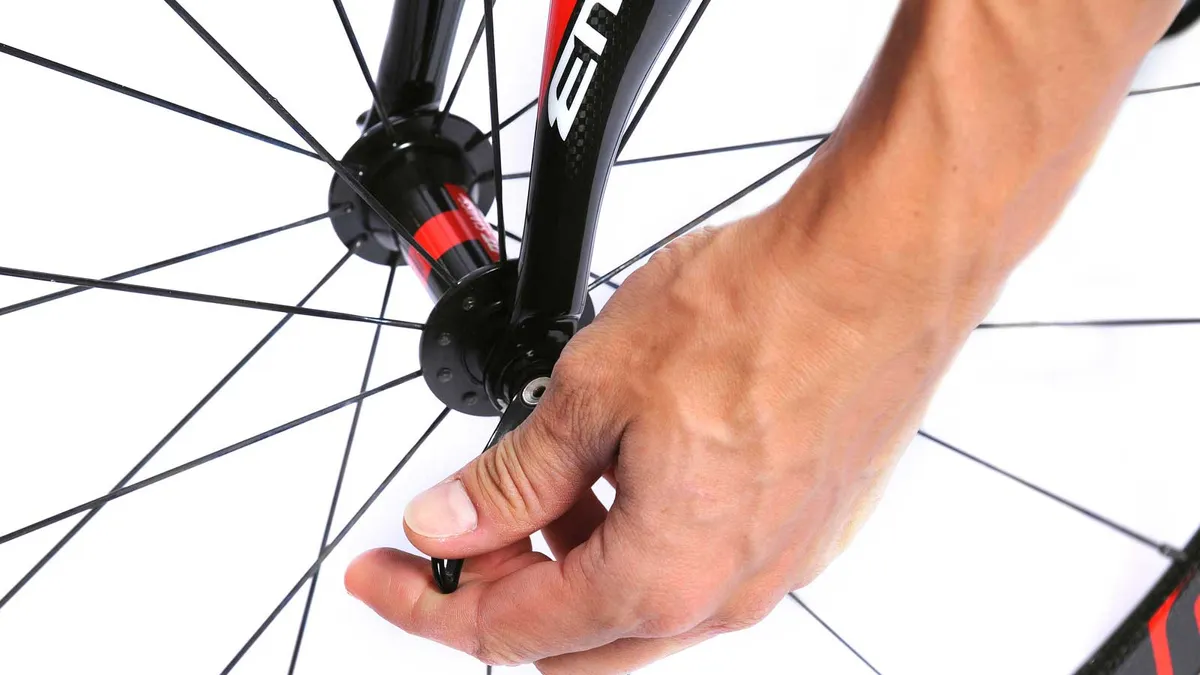
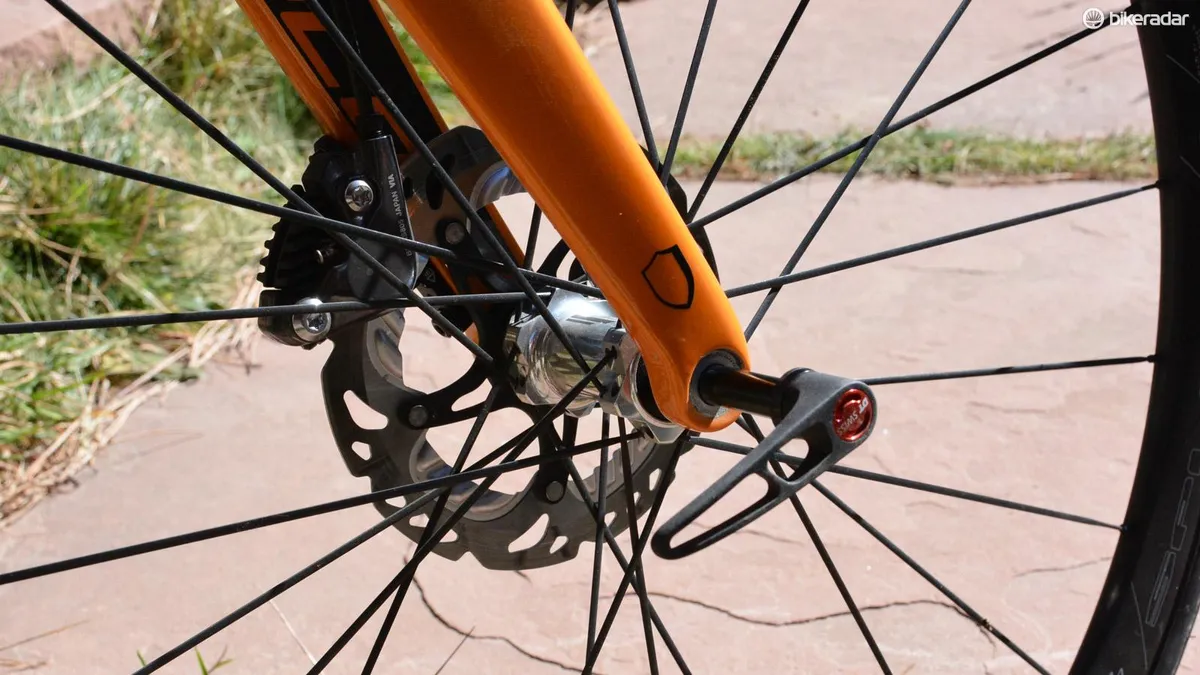
1. Remove your front wheel
Let's get the easy one out of the way. To remove your front wheel, open the front brake caliper's quick-release (QR) — usually situated just below where the cable enters the brake — then flip the wheel's QR lever and unscrew the nut at the other end, until the wheel is loose enough to drop out. If your bike has disc brakes then it's even easier as the disc slides right out without having to touch the disc brake caliper at all.
Most forks come with safety tabs to avoid accidental releases these days, so make sure the QR skewer can clear these or remove the lever entirely, taking care not to lose the two small springs that sandwich between the ends of the skewer and the hub.
For those with thru-axles, the job is arguably easier — simply turn the lever anti-clockwise or flip the lever like you would for a 'regular' quick-release (see above), then rotate anti-clockwise until it comes loose from the fork.
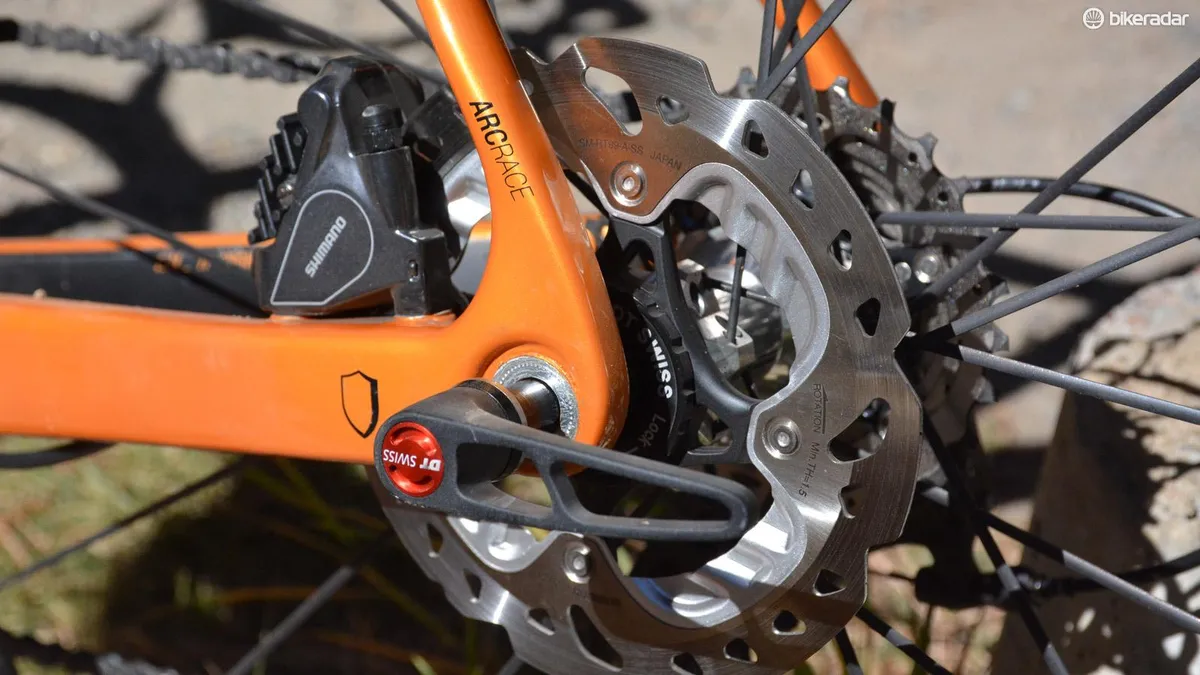
2. Then remove the rear wheel
Use your shifter to move the chain onto the smallest sprocket before you start to remove your rear wheel — shifting down into the small front chainring will also give more chain length to play with. This will make rear wheel removal and insertion easier.
Release the brake caliper's quick release, then open and unscrew the QR and allow the wheel to drop out. You will need to free the cassette from the chain, which can get fiddly, but this is why you shifted onto that small ring. Gloves are useful here to avoid oily hands.
3. Transfer those tyres
If you don't already have a tyre and tube on your new wheels, you'll need to swap the tyres from the old wheels onto the new ones — or get some new ones entirely. Bear in mind that wintery roads tend to have more debris that can cause punctures, so switching to a more durable set of tyres can help ensure trouble-free riding during the colder months.
If you're swapping tyres from summer to winter wheels — and assuming that the wheels you're removing and fitting are both clinchers (rather than glued-on tubular tyres) — this is a simple case of deflating the inner tube, using a tyre lever to undo one side of the tyre's bead, pulling the inner tube out, then pulling the other side of the tyre off.
For full details on getting your tyres off, check out the following video:
How to fix a road bike puncture
4. Swap over your cassette
The next step is to swap your cassette onto the freehub of your new rear wheel. Make sure the cassette is compatible with your new wheel, as there are differences between SRAM / Shimano and Campagnolo freehubs. You'll also need to make sure your winter wheels are compatible with the number of cogs in the cassette — you may need spacers or another freehub entirely if not moving from like-to-like set ups. Check the wheel manufacturer's instructions for compatibility information.
When you're ready to swap cassettes, you'll need a chainwhip and locknut tool handy. Check out our step-by-step video:
How to replace a bike cassette
Wrap the chainwhip around a large sprocket, applying light pressure in a clockwise manner. Place the locknut tool over the locknut and turn it anti-clockwise to begin unscrewing it. Once it's loose, unscrew it by hand and remove the cassette.
Now's a good time to clean the cassette's individual cogs, taking care to place each down in order with its spacers so that you can reassemble easily onto the new wheel. Once the cassette's in place on the new wheel, turn the locknut clockwise by hand, before using the locknut tool to fasten it securely in place.
5. Fit the winter wheels
To fit the new wheels, simply reverse the process above. For the rear wheel, ensure the chain wraps around the smallest sprocket and flick the brake quick-release levers down.
Loosen the cable tension on the brake calipers if the new wheels are wider. Sometimes this can be done with the adjuster barrel on the brakes, other times you may have to loosen the cable retention bolt that anchors the brake cable.
You may also need to tweak the alignment of your brake pads if the new rim's braking surface is set at a different height. This is achieved very simply with an Allen key — check out the video here:
How to adjust road bike brakes