This guide will talk you through how to set up your road bike position with a DIY bike fit – including frame size, saddle height and handlebar position – so you can ride comfortably, efficiently and injury-free.
A bike set up to fit you properly can increase speed and comfort, but more importantly, it’ll help you become a life-long cyclist – you're less likely to stick with cycling if just riding your bike makes you uncomfortable or, worse still, injures you.
A major misconception of bicycles is that they fit right out of the box. You might get lucky, but more than likely you’ll need to try a few different positions to find the one that works for you. You might even have to assemble the bike yourself if you've bought it online.
If you're new to cycling or are building up your mileage, you should expect to be a little achy – it will take a period of time for your body to adapt to the new strains and positions that riding demands.
However, you shouldn't be in pain or picking up cycling injuries while riding your bike. Either is a sure sign that something is wrong.
There are a number of ways you can tweak the fit of your bike and all are within the reach of even the most inexperienced home mechanic.
In your quest to find the right riding position, be prepared to try new saddles, different length stems, or possibly even different handlebars. If you're serious about your cycling, take these expenses into account when looking to make your next bike purchase.
How to find the right bike frame size for you
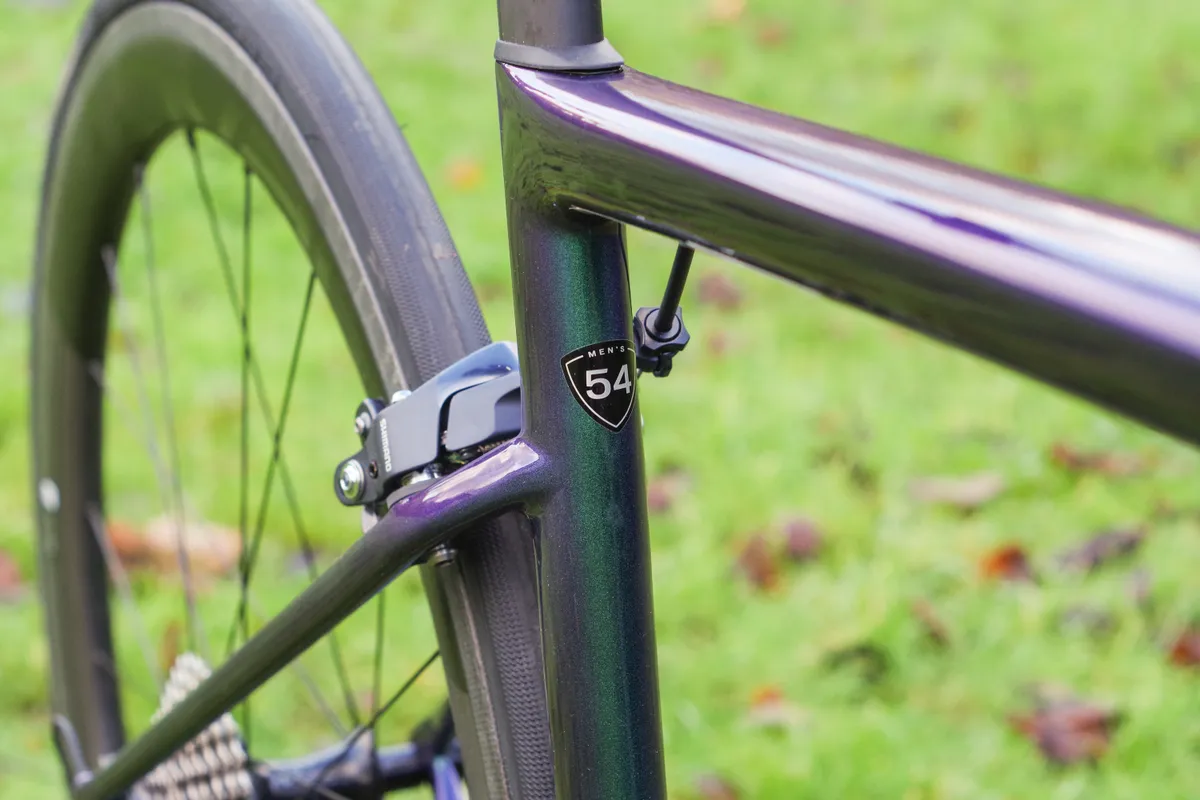
Road bike frames are typically sized either by their seat tube length, or as a t-shirt sizing (eg, small, medium, large, and so on).
Regardless of the methods any given brand uses to quantify a size, the effective cockpit length (from seat to handlebar), is the major determining factor for basic fit.
Most bike companies have sizing charts on their websites to get you in the right ballpark for frame size. This is usually based on your overall height.
We've also got a guide to road bike sizing to help you find the right frame, as well as advice on women's bike sizing and mountain bike sizing.
If you're buying a second-hand bike that has had the sizing sticker removed or you can't find sizing information, check out our comprehensive guide on how to measure a bike frame.
Of course, frame size doesn’t necessarily take into account your body’s specific dimensions in terms of leg length or torso and arm length, but it’s a great place to start.
Stack and reach are a much better way to assess the overall fit of a bike, but getting your head around the peculiarities of road bike geometry is a little more complex.
The next critical measurement to look at is standover height – fortunately, this is much more basic.
Ensuring you have enough clearance over the top tube to safely get on and off the bike is key. There should be several centimetres of space between you and the top of the bike.
How to choose a saddle
Finding a good position is impossible without a seat that supports your body.
You’ve got two seat bones in your pelvis that should make contact with the bike's saddle and support the majority of your weight.
If you're unsure where to start, check out our guide on how to find the right bike seat for you, while we've also covered the basics below.
Choosing the right saddle for you
Saddles are often gender-specific. This means they’re designed to suit the anatomy, soft tissue and sit-bone widths of men and women. Some people find a gender-specific saddle helps, while others are fine with unisex saddles. It’s really down to personal preference.
Saddles are usually designed to suit different on-bike body positions, too, since this will affect the distribution of weight and pressure on the nether regions. For example, on a hybrid or commuter bike, where the rider is usually sitting upright, the pelvis will also be in an upright position with the pressure point towards the back of the rider’s ‘undercarriage’. On a road bike, when riding on the drops, the pelvis is rotated forward so there will be more pressure towards the front. The type of body position a saddle is designed for is usually displayed on the packaging, or the staff in your local bike shop will be able to help.
Finally, most brands will produce saddles in different widths, to accommodate a variety of riders with different width sit-bones. Most bike shops have a way of measuring this to help you find the right size. Some shops also have test saddles so you can see if a particular saddle works for you while out on a ride.
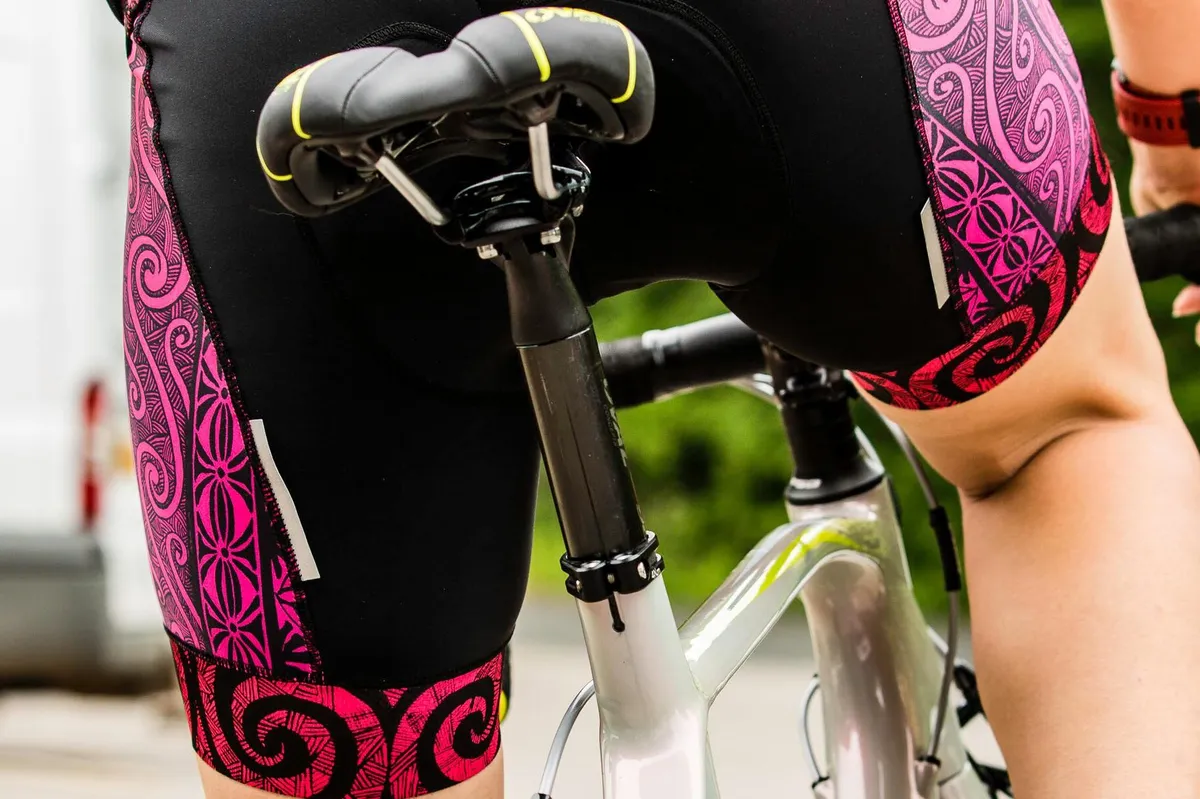
How to set your saddle height
Getting your saddle height right is an important aspect of road bike positioning (if not the most important) and is the first adjustment for building a new position.
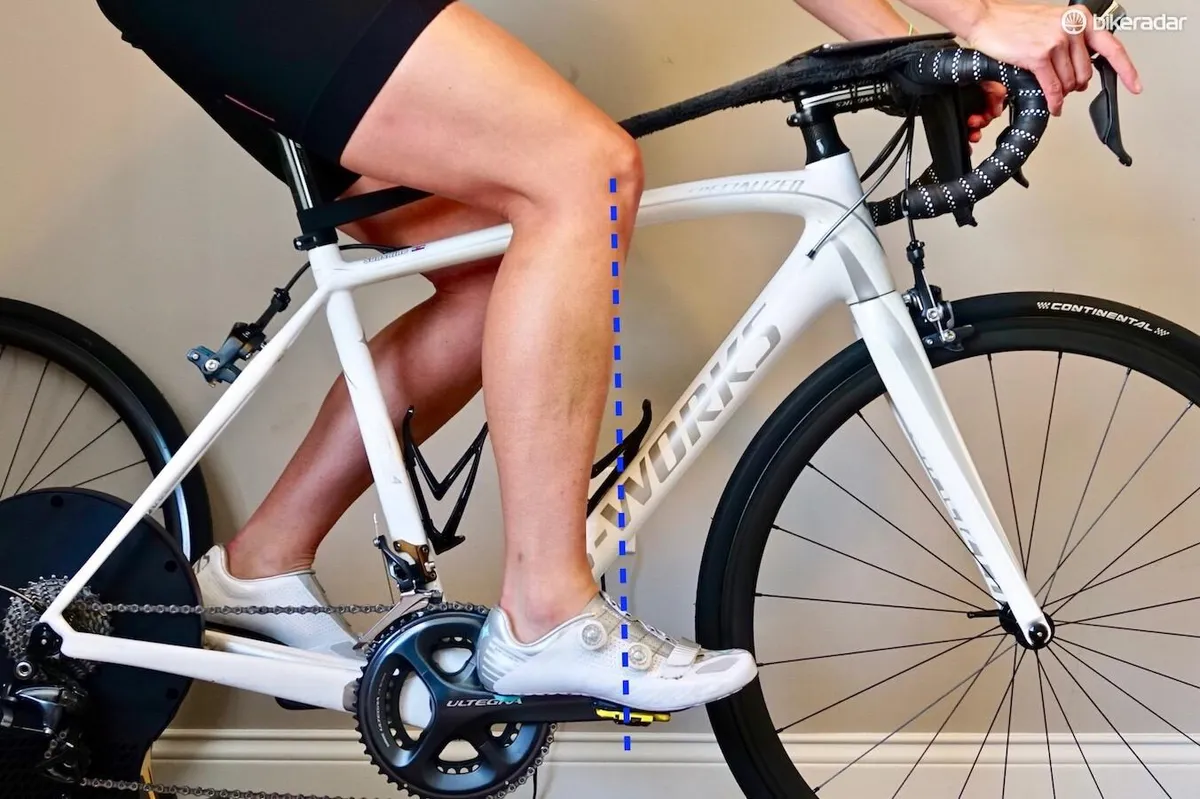
As a general rule of thumb, your knee should have a slight bend in it when you're at the bottom of the pedal stroke. As a starting point, you can achieve this by setting a saddle height that, with your heel on the pedal and pedalling backwards slowly, your knee just barely locks out at the point of maximum extension.
If you have to reach, it’s too high. If you don’t quite lock out your knee, it’s too low.
That's only a brief overview – if you want to really fine-tune your position, read our in-depth guide to saddle height.
Getting the seat in the right place forwards (fore) and backwards (aft) is important, too.
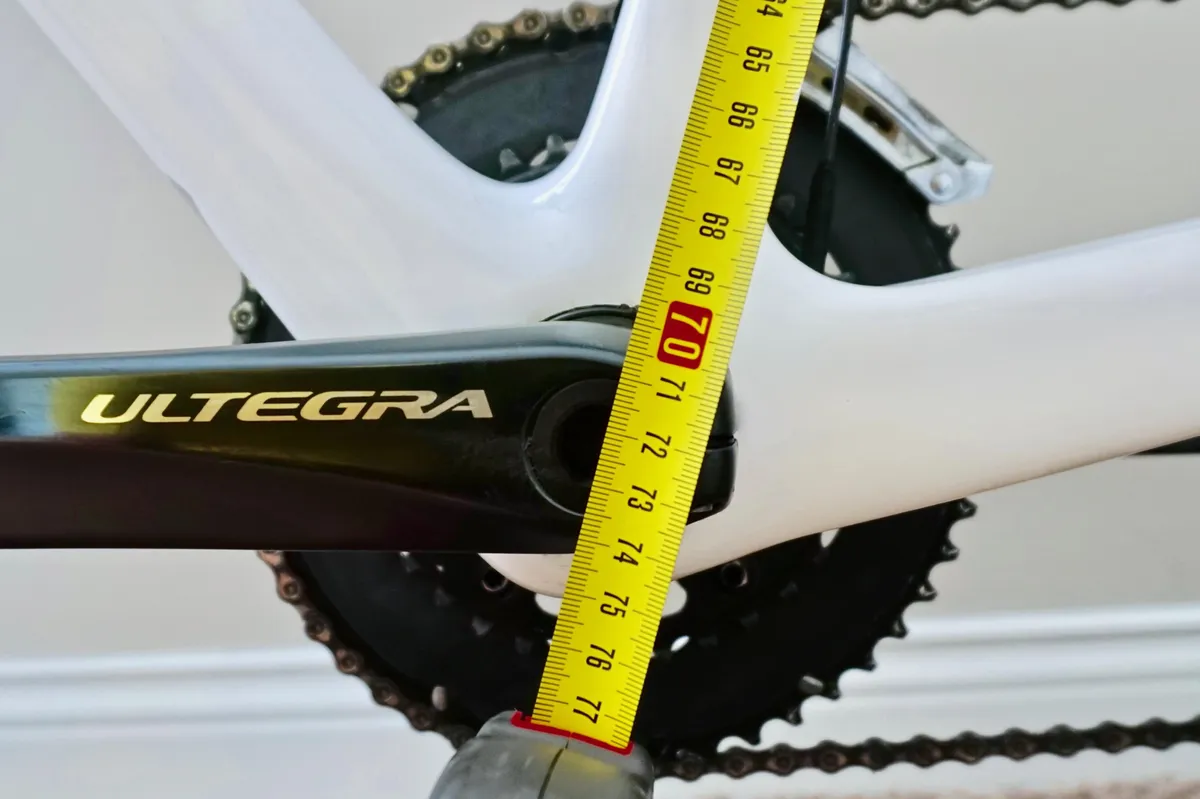
The idea is to get maximum force applied to the pedals, and this is achieved when the knee is above the pedal axle when the crank is in the 3 o’clock position. Crank length and cleat position can affect this, too (more on this in a moment).
As for saddle angle, broadly speaking you have three options: flat, with the nose pointed up, or with the nose pointed down.
If you’re not sure what angle to put it to, start off flat then tweak it later if you have any issues.
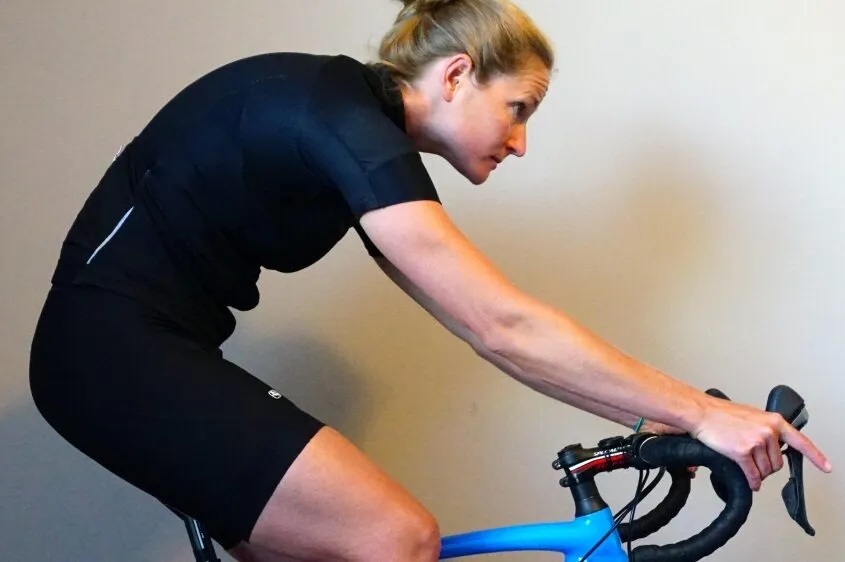
How to set your handlebar height on a road bike
With your seat height and saddle fore/aft set, it’s time to move to the front of the bike.
Handlebar position has a huge impact on the overall fit of your bike. Moving just 5mm up/down or forward/back can totally change the character of a bike.
If performance and speed is your focus, getting into a low, aerodynamic position that you can maintain for a long period of time is the goal. If you're more about all-day comfort and less about all-out speed, a more upright position that reduces weight and strain on your arms is what you're after.
Try going out for a ride with the handlebars where they are straight out of the box as that will give you a benchmark to work from.
Be forewarned, this is not an easy process to work through. Be patient, try different things, and make some small notes on what’s working well, and what isn’t.
If you have shoulder or neck pain after riding, it’s likely because you’re shrugging your shoulders and reaching too far – try a shorter stem.
If you feel lower back pain, this could be an indicator of your handlebars being too low (or your seat too high). Conversely, if you feel upper back pain, between your shoulder blades, this could be the opposite.
Most shops will have a few inexpensive stems for you to try out (if you purchased your bike from them). Bear in mind that if you need to change your stem length significantly, you might be better off on a different size frame
The height of your handlebar is also important and, like stem length, has an impact on reach – lower the handlebar, putting it in a more aggressive position, and you'll increase the effective reach; raise the handlebar and you'll do the opposite, providing a more upright riding position. We've got a separate guide on how to raise handlebars on a bike.

Don’t compensate for a shorter reach by moving your seat forward – though one will affect the other, the lower body and upper body should be treated as separate but equal components to your position.
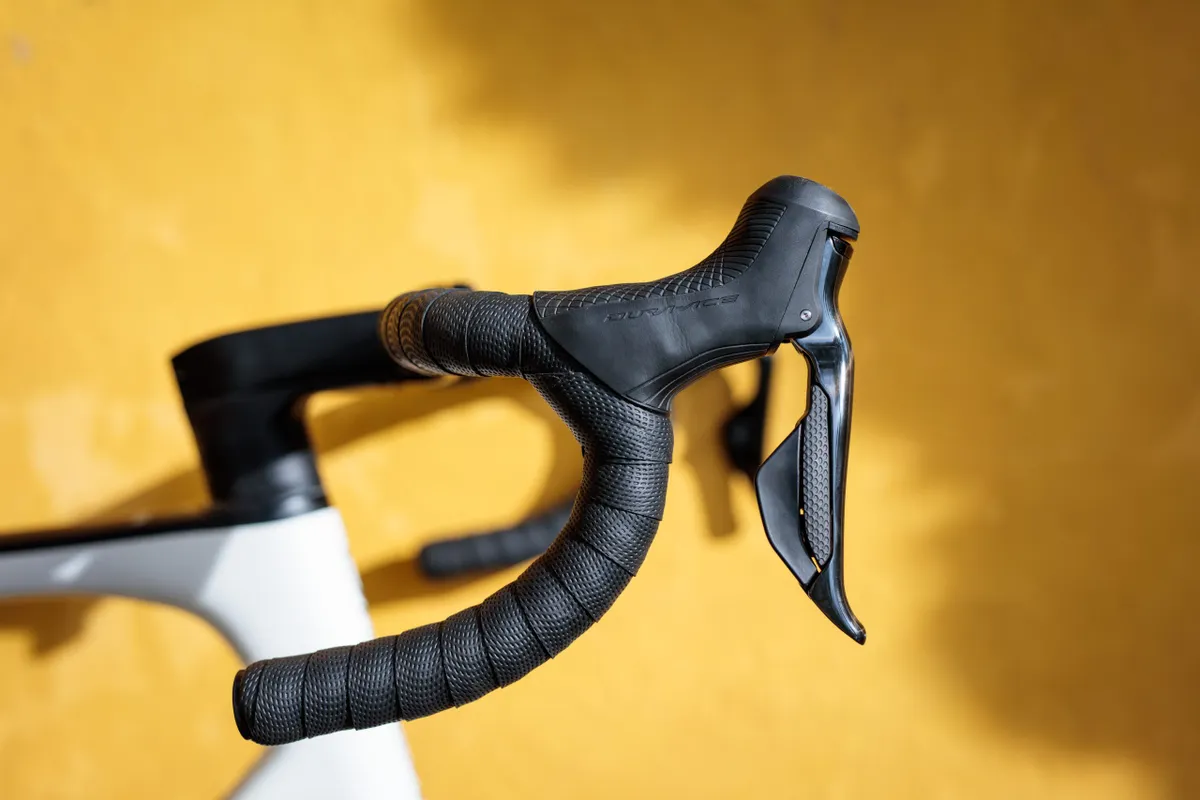
Equally important to the location of the handlebar is your ability to access your brakes with confidence and use your shifters with ease. Ideally, the shifters should also have a smooth and flat transition from the ramp of the handlebars to the shifters.
Though you may be able to make small tweaks, this can mean unwrapping your bars, rotating them, repositioning your shifters, and putting everything back in place.
If you have small hands and/or find the brake levers are too far away, remember you can always adjust the reach of your levers. You should be able to comfortably reach and control your brakes while still having a secure grip on your handlebars.
Fitting pedals and cleat alignment
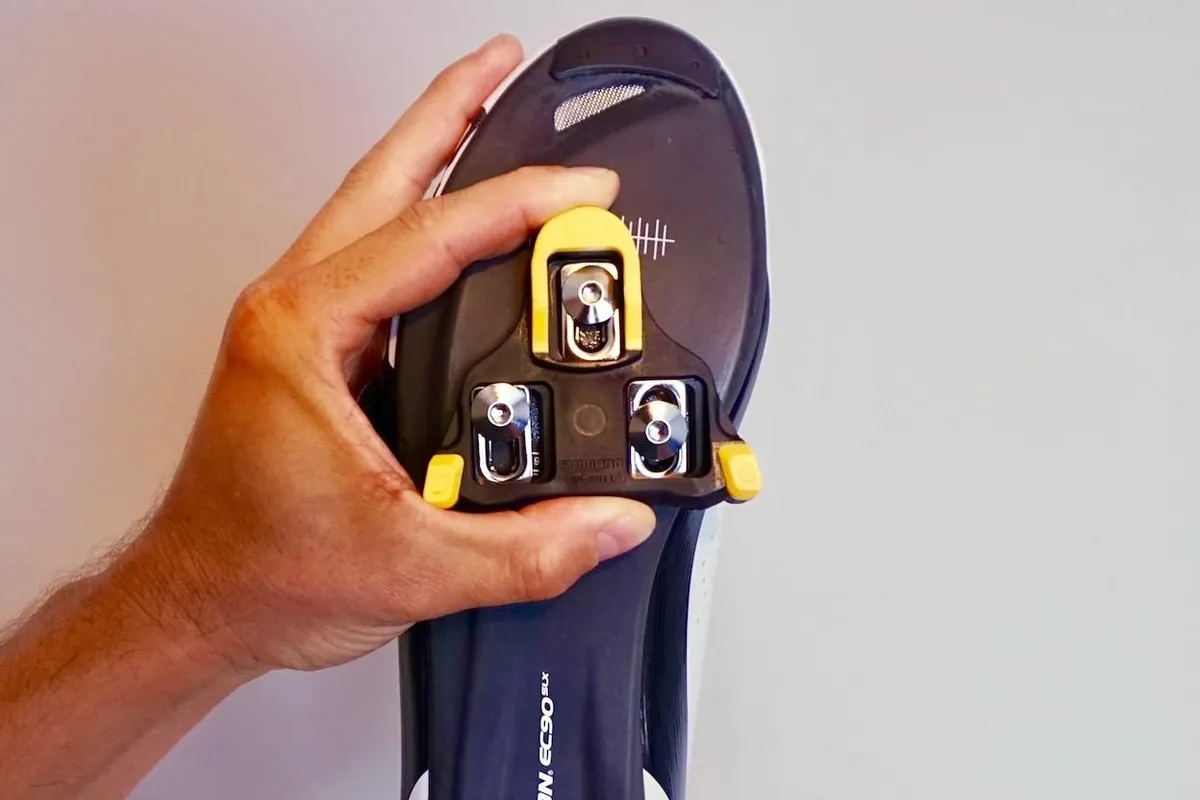
As a final step, sort out your pedal and cleat position. Poorly positioned feet can lead to problems ranging from numbness and hot spots – inflammation of the nerves between the toes – to debilitating knee pain. Sure, you’re fixed in those pedals, but it should feel natural.
While you're here, it's worth weighing up flat pedals vs clipless pedals (most road cyclists use clipless pedals), and the best road bike pedals for your budget and riding style.
Why you should consider a bike fit (plus tips for a DIY bike fit)
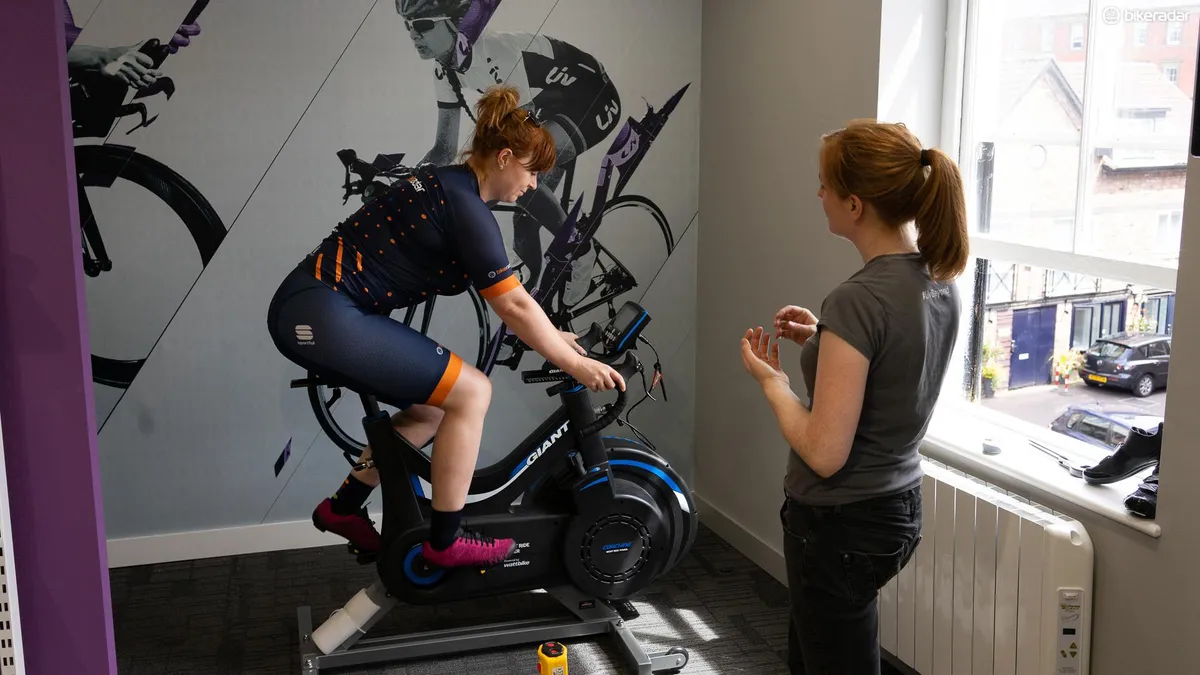
Once you understand your position, what you like about it and what you don’t, there’s always more opportunity found from a professional bike fit. But do your homework – not all bike fit professionals are created equal.
Some are more expensive than others, and sometimes for good reason. Some bike fitters are so confident in their work they’re willing to offer money-back guarantees.
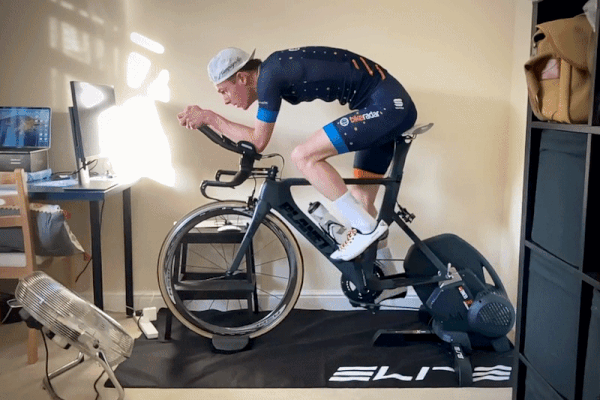
As a cheaper (free!) alternative to a professional bike fit, you could use a smartphone to assess your position when riding on a turbo or smart trainer.
With this, you can take a close look at exactly what is going on as you pedal. This is particularly useful for assessing saddle height.
The final touches

A correctly fitting and set up bike should give good handling in all circumstances. You should be able to look down the road without fatigue, and over your shoulders (to see other traffic) without straining.
Once you’ve gotten these things sorted, you’ll be enjoying your riding more every day. And on every ride, you’ll notice more about your body and your position.
Always remember, cycling shouldn’t be uncomfortable – so if you are, it’s time to start making some changes.